> For the complete documentation index, see [llms.txt](https://hyperdust-foundation.gitbook.io/docs-and-guides/llms.txt). Markdown versions of documentation pages are available by appending `.md` to page URLs; this page is available as [Markdown](https://hyperdust-foundation.gitbook.io/docs-and-guides/run-a-hyperagi-node/4.guide-to-common-issues.md).
# 4.Guide to Common Issues
#### **If you are unable to successfully start the core module during the node module deployment steps (refer to step 3.2), please follow the steps below to systematically check each setting. Restart the Windows system and attempt to start the node core module again.**
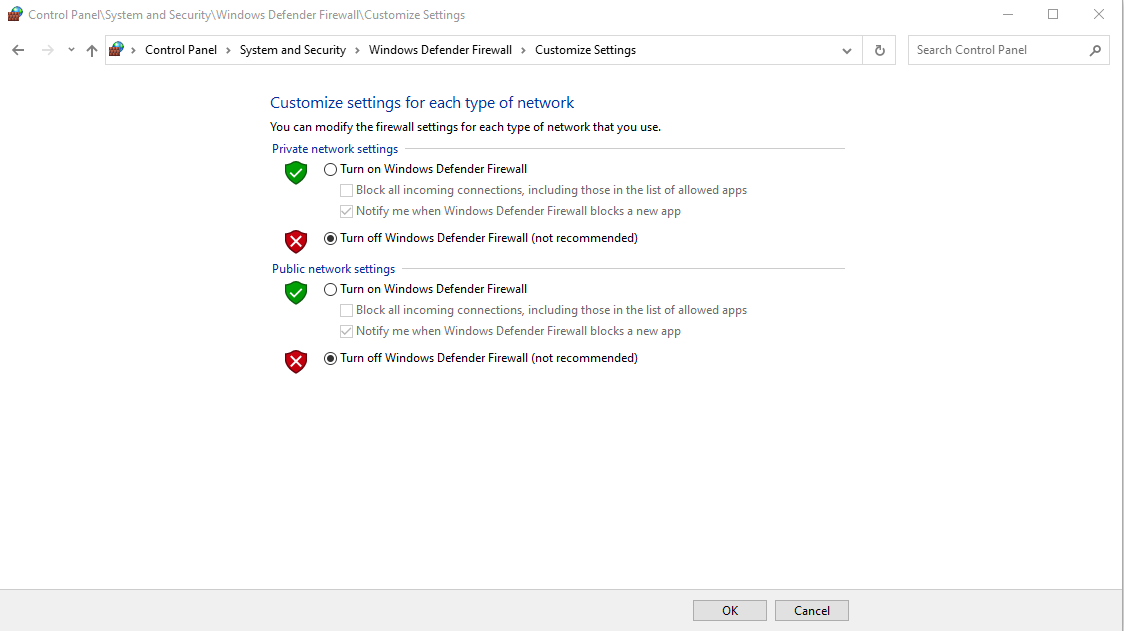
#### 4.1 Check Firewall Settings
Disable the operating system firewall by navigating to Control Panel/System and Security/Windows Defender Firewall, and turn off the firewall for all networks.
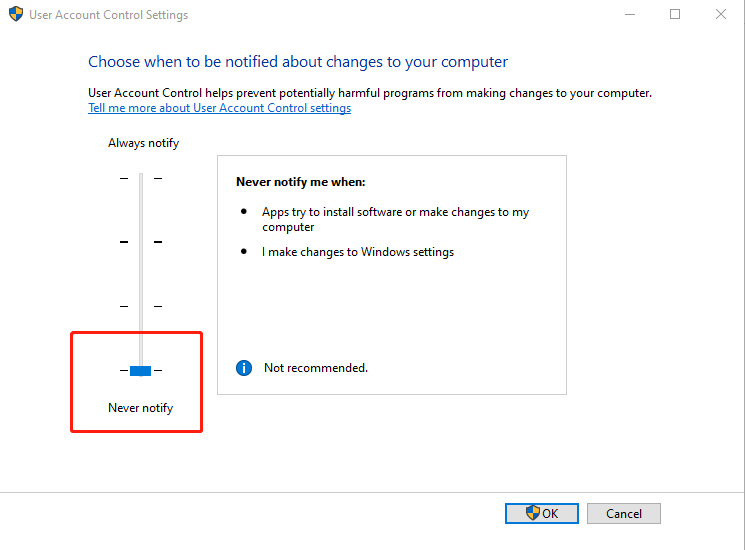
#### 4.2 Check Control Permission Settings
Modify User Account Control (UAC) settings to prevent confirmation prompts when the application starts, which may disrupt the normal operation of cloud-based applications. Click on the Start menu, type UAC (or Change User Account Settings), click on "Change User Account Settings," or access it from the Control Panel. In the User Account Control settings, select "Never notify."
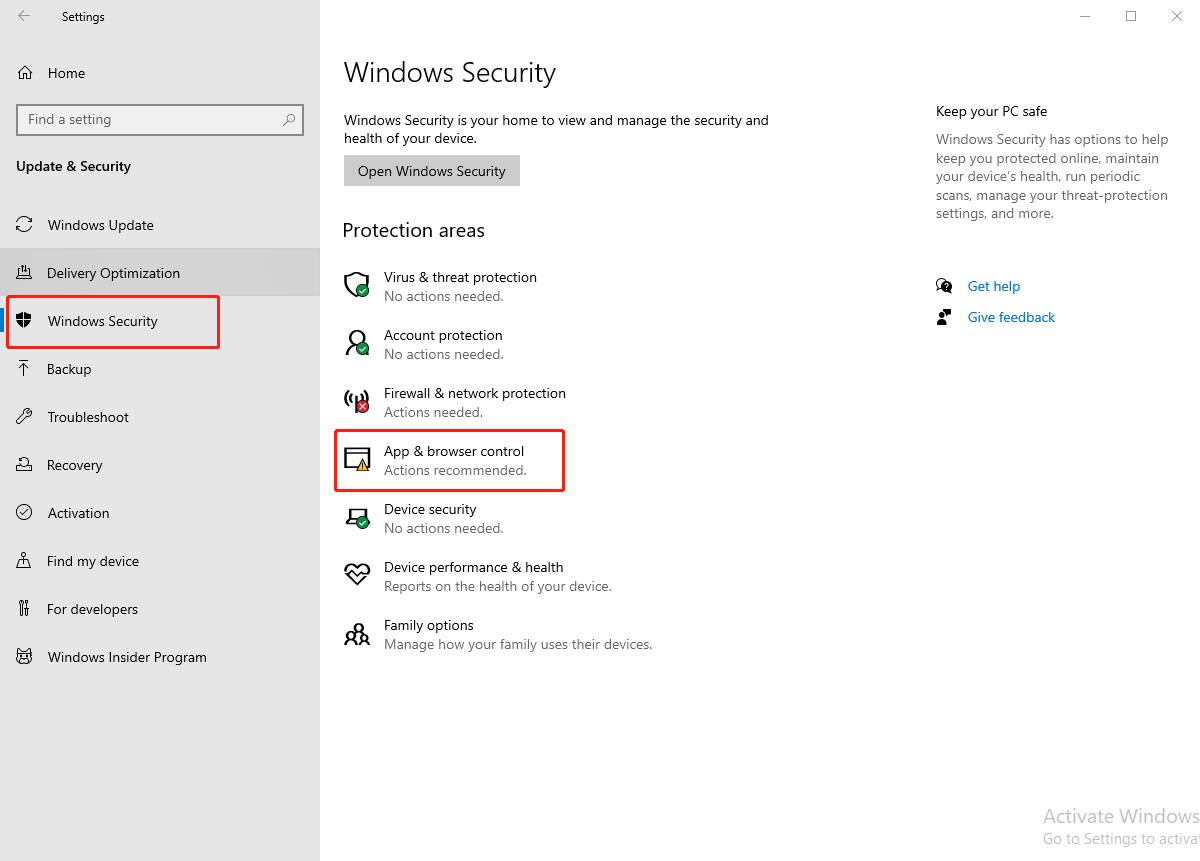
#### 4.3 Disable Windows SmartScreen
In the Windows Security Center, select App & browser control, and turn off notifications. Follow these steps.
#### **4.3.1 Enter "Windows Security Center" in the search bar and open the Security Center.4.3.2 Choose "App & browser control" and turn off all checks.**
#### **4.3.2 Choose "App & browser control" and turn off all checks.**
#### 4.4 Disable Windows Defender
If the node operating system is Win10, open the Windows Security Center and disable Windows Defender at the bottom.
If the node operating system is Server 2019, search and open Server Manager on the desktop, choose Local Server, find Windows Defender Antivirus, and disable it.
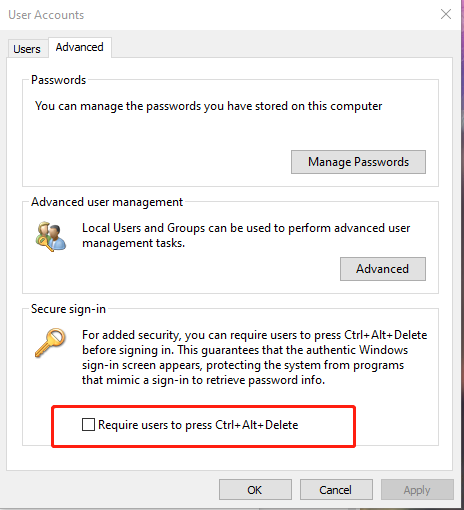
#### 4.5 Set up automatic login
**4.5.1 Type "netplwiz" in the Run dialog to open User Account Settings.**
**4.5.2 Uncheck the box in front of "Require users to press Ctrl+ Alt+ Delete."**
Click OK, and enter the account and password for logging into the computer as prompted.
#### 4.6 Check and set sleep and display turn-off time
Set the system to "Never Sleep/Never Turn Off Display." Open Power Options and configure as shown in the following figure:
#### 4.7 Check and set OS updates and time synchronization
Update the Windows operating system to the latest version and synchronize the system clock to ensure it matches the current time.
After restarting the Windows system, perform section 3.2 again to start the core module.
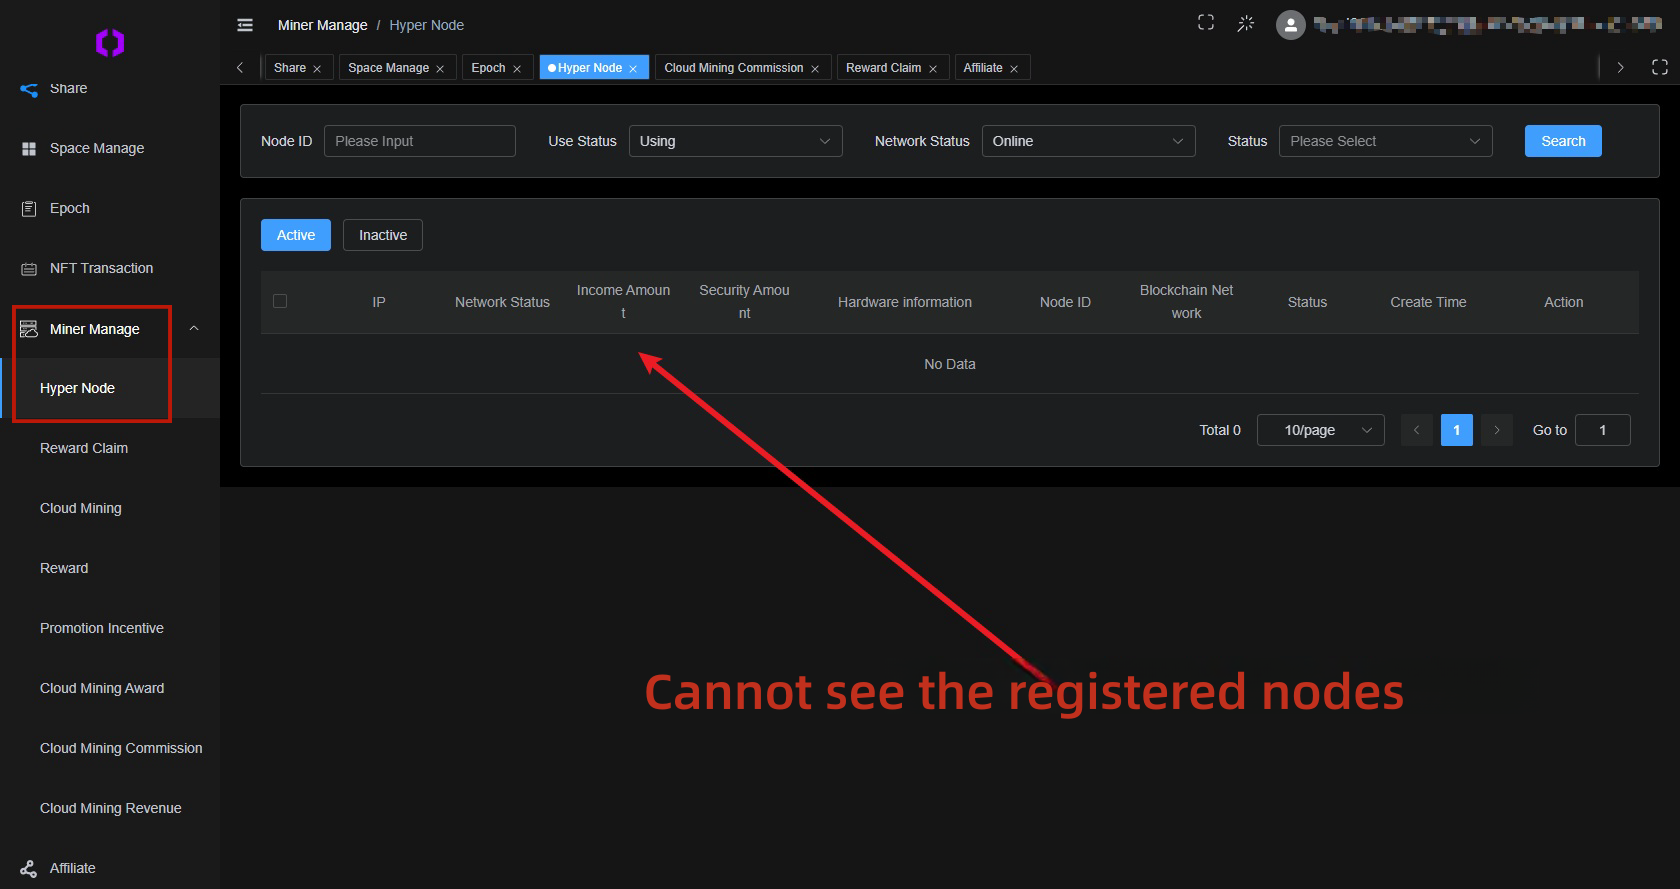
#### 4.8 After launching the service, node information is not registered in the personal center.
Please check if the corresponding graphics card driver is correctly installed.
For T4 graphics card drivers, you can download them from the following link:
#### For other models of graphics cards, please visit the official NVIDIA website and download and install the driver corresponding to your model.